
Plate Installation Step-by-Step with our Video Guide
Plate Installation Step-by-Step with our Video Guide
How to Install Night Fision Optic Plates (with help from their video tutorial)
Installing Night Fision’s optic plates isn’t rocket science — it’s more of a methodical process. If you follow along with their official installation video (available from their website’s “Videos / Optic Plates” section) (Night Fision), you’ll have a much easier time. Below is a friendly walkthrough to go along with the video.
What You’ll Need
Before you begin, make sure you have:
Your Night Fision optic plate
The optic you want to mount (make sure it matches the footprint of the plate; you can use their plate & sight pairing guide) (Night Fision)
A slide with the correct cutout (MOS, etc.)
Blue Loctite (if the screws don’t come pre-applied)
Torx or allen wrench (as needed for the screws)
A clean, stable workstation and good lighting
Safety gear (eye protection, etc.)
Always remember: if you’re unsure at any point, it’s wise to consult a professional or licensed gunsmith.
Step-by-Step Installation
- Watch the video first
Start by watching Night Fision’s installation video to get the overview of each step. That visual reference will help you understand each of the following steps. (Watch on Youtube) - Workspace
Unbox the plate and all hardware. Set your plate screws aside from the optic screws needed for your optic. We clearly mark all included hardware, including the recommended optic if there are multiple screw packs (such as the RMR plate). Ensure your firearm is cleared and field strip the firearm so you separate the slide from the frame. On Glock pistols, we recommend ensuring your extractor channel does not have parts to avoid any entrapment issues. Set all parts aside and keep the slide you plan on installing the plate and optic to in the center of your well-lit workspace. - Prepare the Surface
Clean the top of the optic cut on the slide with a solvent that removes all oil, lubricant, and debris from the surface. - Test-fit the plate
We guarantee our plates to show up with zero warp and machined to the tightest tolerances. It is still critical to ensure you “dry fit” or test fit the plate-to-slide fit before screwing down and securing the plate—putting the plate down on the slide, and ensuring there is little to no movement (unsecured there may be some), that there is no issues with the slide cut (non-OEM slides may have different tolerances, our plates are cut to precisely mate with the strict tolerances of the Original Equipment Manufacturer). We also encourage putting the optic down on the plate to ensure there are no errors made in the footprint. - Secure the plate
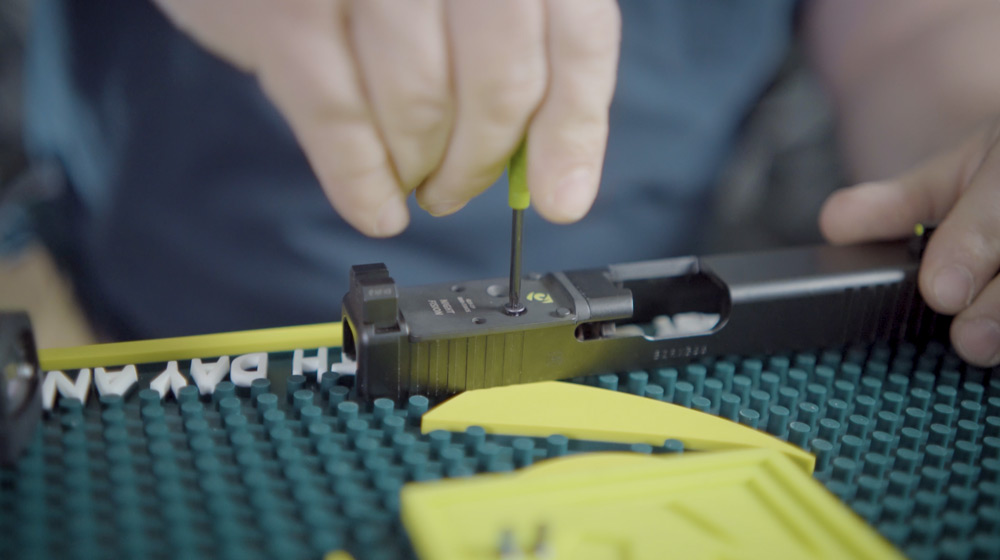
Once you have ensured there is no issue in the test-fitting stage, use the plate screws to secure your plate. Tighten them using 5–7 in/lb of torque (or “hand tight” if you don’t have a torque driver) with our provided Installation Tool. Alternate your tightening of the screws to ensure the plate stays as level as possible during this process. The screws will have blue Loctite pre-applied. Avoid red Loctite or Vibratite, since they can make removal very difficult or risk stripping threads. Should you choose to use Red Loctite or Vibratite, it is strongly recommended that you use heat to break down the bond before attempting to remove or loosen screws. - Witness Marking
Use a paint marker to make some small marks that extend from the screw head out to the plate as a helpful way to visually see if the screws begin to loosen when/if inspected when the optic is removed. Wait until the paint has dried before moving on to the next step. - Mount your optic
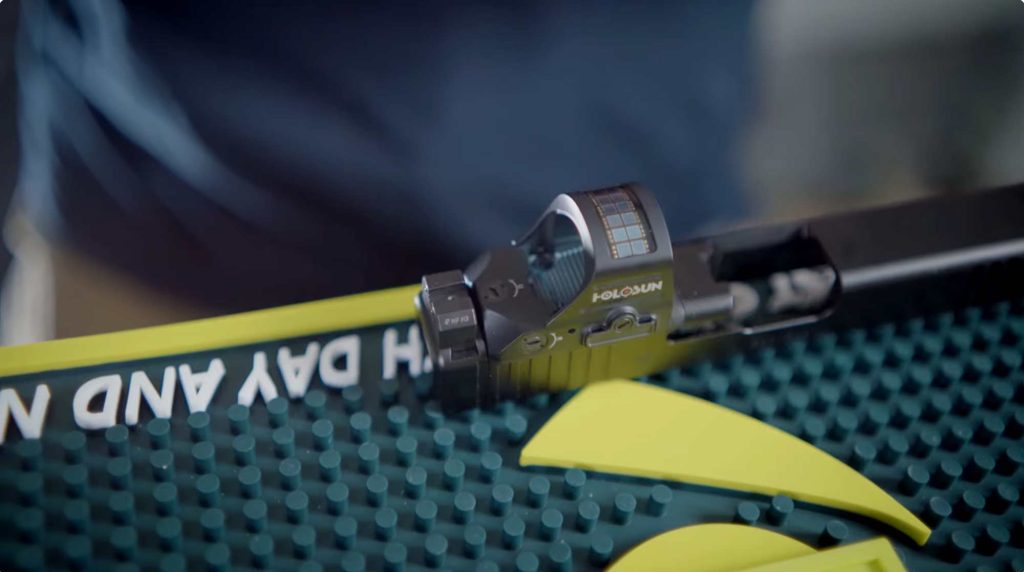
Now that the plate is installed, align your optic over the mounting holes and attach it per the optic manufacturer’s instructions. Use the matching footprint and torque specs, and ensure it’s centered and flush. As with the plate, it’s recommended you alternate your tightening, and witness mark your screws when complate. - Final checks
- Make sure everything is tight but not over-torqued
- Confirm the plate and optic are seated with no gaps
- Install any previously removed slide internals
- If your setup involves co-witnessing sights (e.g. lower 1/3), double-check your sight heights and alignment
- Let your slide with it’s new plate and optic cure for 12-24 hours for best results
- It’s recommended you test fire your firearm to ensure everything is working properly
- Watch the video first
Tips & Cautions
Always punch or push from the dovetail — never strike or press on the top of the plate. That can damage the tritium vial. (Night Fision)
If your plate is extremely tight or doesn’t want to seat, it’s better to remove a little material than to force it.
Don’t overtighten screws — that’s a common mistake that can damage threads or the plate itself.
If you feel resistance or are unsure at any step, stop and ask for help (a more experienced builder or a gunsmith).
Please ensure you don’t skip steps as your plate and optic need to be properly installed to avoid any issues. If you do follow this process, you’ll end up with a strong, reliably mounted optic that should be trouble free and should remain securely attached.
Tags
Archives
- September 2026
- July 2026
- April 2026
- February 2026
- January 2026
- October 2025
- September 2025
- August 2025
- June 2025
- May 2025
- April 2025
- January 2025
- December 2024
- November 2024
- August 2024
- May 2024
- March 2024
- February 2024
- December 2023
- November 2023
- October 2023
- August 2023
- July 2023
- June 2023
- April 2023
- February 2023
- January 2023
- December 2022
- November 2022
- October 2022
- August 2022
- June 2022
- May 2022
- April 2022
- March 2022
- October 2021
- September 2021
- August 2021
- July 2021
- May 2021
- April 2021
- February 2021
- January 2021
- December 2020
- October 2020
- August 2020
- July 2020
- May 2020
- February 2020
- October 2019
- August 2019
- July 2019
- April 2019
- March 2019
- January 2019
- December 2018
- November 2018
- October 2018
- September 2018
- August 2018
- July 2018
- June 2018
- May 2018
- April 2018
- March 2018
- February 2018
- January 2018